

While this is a pretty good target for me, I must admit that most of the people I shoot against have groups about 1/2 the size. I can't do much about my target shape, but I considered trying something the fine Black Powder Cartridge Rifle vendors use to tempt me out of my money. That thing is a bubble level.
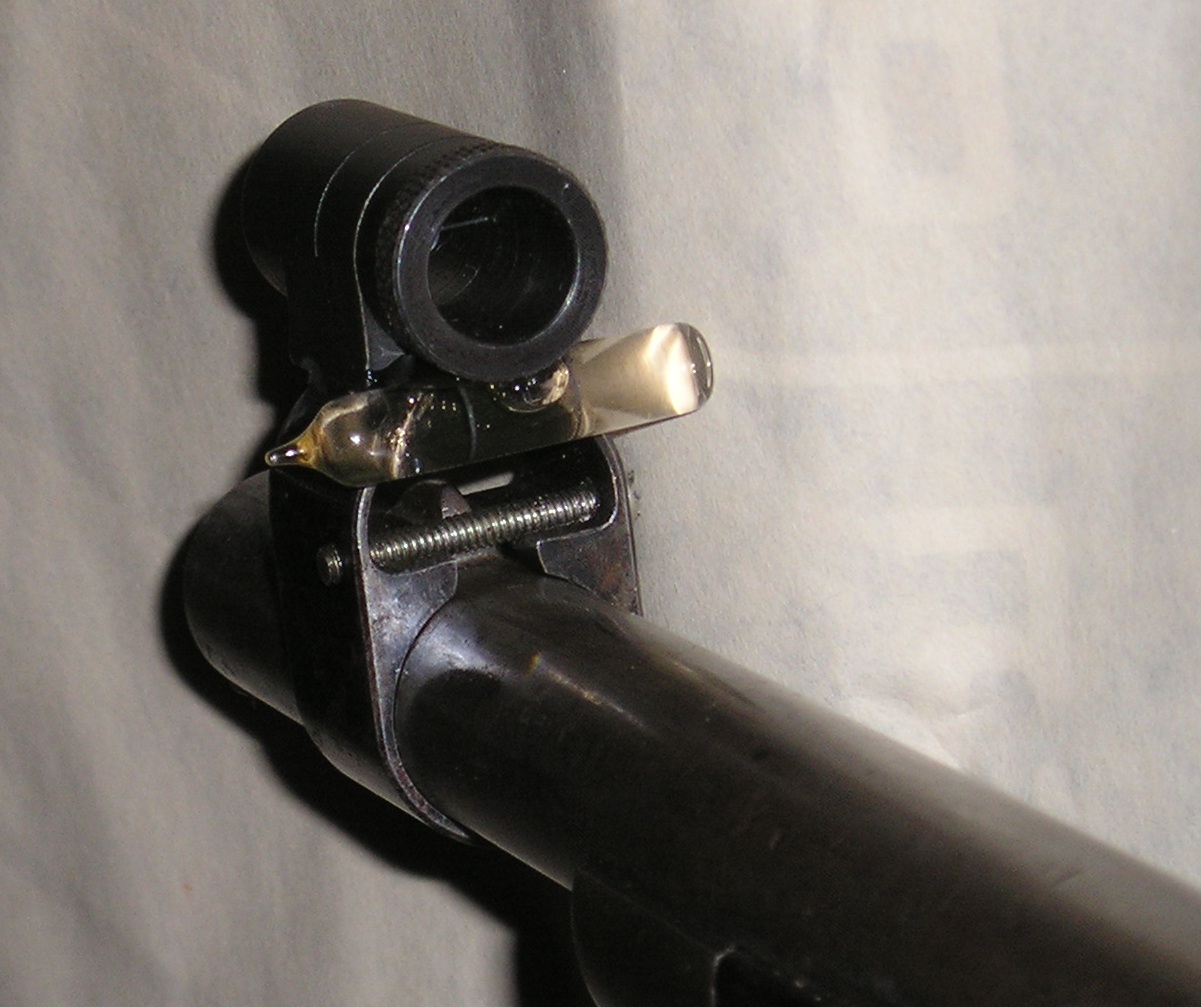
Bubble levels aren't particularly expensive, but I'm not going to find one as a simple add on to my cobbed together front sight, so I decided to make a home "proof of concept" version before I went to the effort of mounting the real thing. I forsed the glass out of a cheap level and glued it in place with Shoe Goo. Shoe Goo used to be the best adhesive known to man when it was clear. Now it has been reformulated to black and is just OK, but it worked fine for this application.
had the bullet drop at a number of ranges for my gun. I zeroed the inputs so it reads as if the gun is pointed perfectly horizontal at the center of the target.
The numbers go like this:
| Range | Drop | Offset at 4 degree cant |
| 0 | 0 | 0.00 |
| 50 | 2.9 | 0.20 |
| 100 | 11.5 | 0.80 |
| 150 | 26.33 | 1.84 |
| 200 | 47.9 | 3.34 |
| 250 | 76.71 | 5.35 |
| 300 | 113.24 | 7.90 |
| 350 | 157.93 | 11.02 |
| 400 | 211.22 | 14.73 |
| 450 | 273.51 | 19.08 |
| 500 | 345.18 | 24.08 |
| 550 | 426.6 | 29.76 |
| 600 | 518.12 | 36.14 |
The offset numbers are simply a calculation of the length of the opposite (sine) leg of a triangle with the bullet drop as the hypotenuse.
As you can see, at 200 yards, a 4 degree cant amounts to 3.34" offset. I figure my normal variation is about half this, but it could be in both directions, so it adds up to some real numbers.
The next step was to do some physical testing. Off to the range. I shot 2 groups of 10 rounds each at an identical round target and each with the same sight setting. The first group was shot with the bubble as centered as I could make it. The second was with the bubble off to the side the 4 degrees mentioned previously. When all was said, done, and measured, the difference in the two groups was 4.28" in the horizontal direction. This is a bit more than expected, but certainly in the ballpark. They were almost identical in the vertical direction, which is to be expected.
One additional positive in all this is it gives a stable way to adjust for wind variation. The traditional method for wind doping is to set up the sights for whatever the "standard" wind conditions are that day, and then just wait for the wind to match those conditions and take your shot. On a blustery day, those conditions may not come along often enough and some sight adjustment and guesswork occurs. By knowing how much offset I get from a certain cant, I can quickly and accurately "lean in" some Kentucky Windage and not have any sight fiddling involved. It allows me to leave my sight picture unchanged and I always have a perfect "zero shot" when wind returns to normal.
No comments:
Post a Comment